We process your personal information to measure and improve our sites and service, to assist our marketing campaigns and to provide personalized content and advertising. By clicking the button on the right, you can exercise your privacy rights. For more information see our privacy notice.
Privacy Policy

How to Make a Foil Notepad
October 18, 2018
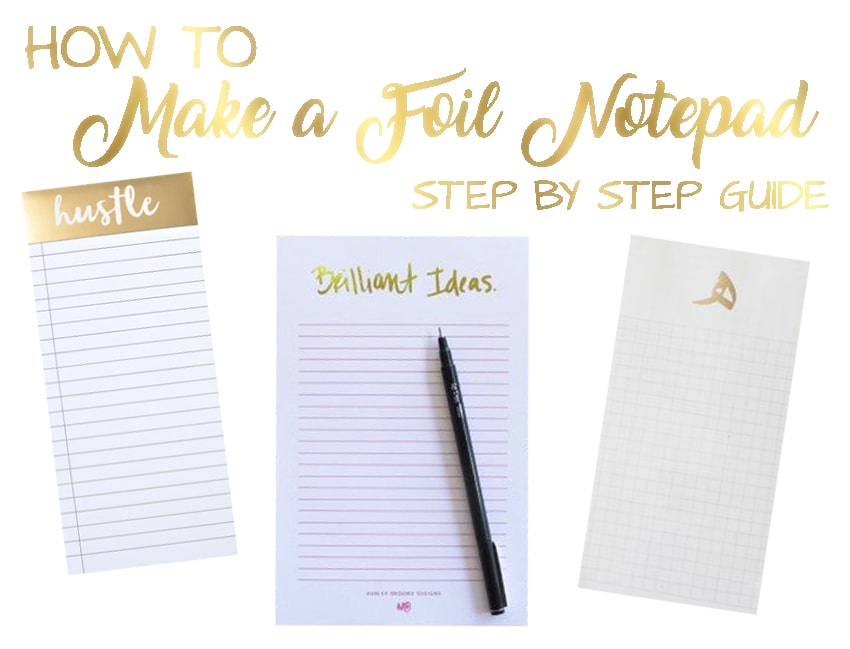
Have you ever wanted to add glam to your pads of paper? How about to create a stunning and glittery letterhead notepad that will stand out from the crowd? Well now you don't have to pay hundreds at a local print shop to foil any longer...not with our line of foiling and pad-making products. Here is how to make a foil notepad in just a few easy steps:
WHAT YOU WILL NEED:
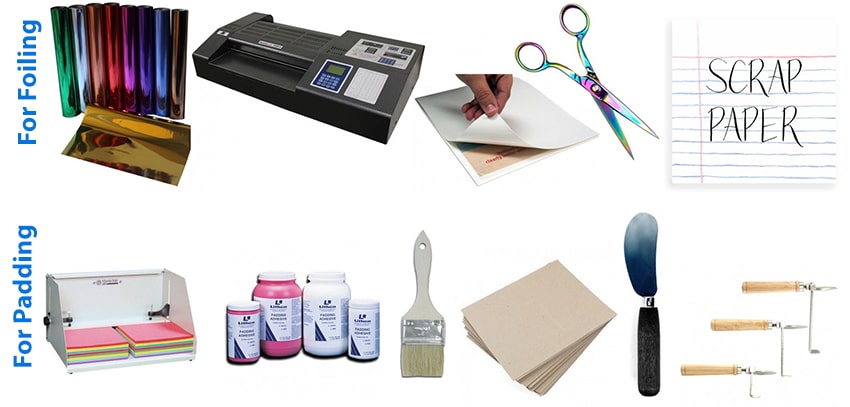
- • Paper stock
• Foil Fusing Rolls
• Pouch Laminating Machine -or- Foil Fuser
Not all laminators will work well; check out the best laminators for foiling here
• Pouch Carrier (if using a Pouch Laminator)
• Scissors (if using a Pouch Laminator)
• Laser Printer or Copier that uses Dry Toner (not Wax-Based ink)
• Padding Glue
• Padding Press (or a way to clamp your stack, such as binder clips, heavy books, table clamps, etc.)
• Padding Brush
• Chipboard Pad Backings (optional; for the backing of your pads, creating easy separation and stability)
• Padding Knife (optional; to cut one large stack into multiple small stacks)
• Pad Counter (optional; to easily create same-size stacks from a ream of paper)
MAKE YOUR FOILED PAPER:
Now that you have everything you need, you can start by foiling your paper. Here are the steps for how to foil your sheets and get them ready for padding.
1. Choose Your Paper
Foiling will work best on smooth paper stock with little or no texture. This does limit your paper choice a bit, however, you can still use a cardstock or thicker paper, as long as it is not textured. Just note that if you are going to use a very thick paper stock, your foiling machine or pouch laminator will require more heat to properly apply the foil.
2. Print Your Design
It is important that your design only be printed using a printer or copier that uses dry toner. A wax based ink will not activate the foil, and will not work. To check if your ink is compatible, check your ink cartridge packaging or your printer user manual. Want to test it out? Request a sample piece of foil to test.
3. Foil Your Paper
First, we need to foil your paper. You can do this a few different ways. The first way is typically for lower volumes, and is using a heated laminator. The second way, for higher volumes, is with a foil fuser machine.
TIP: You can use lower priced pouch laminators, but they are not guaranteed to work, and you should keep a couple of things in mind: (1) The heat should be adjustable, ideally. This will give you more control over how much heat is applied, so you can really fine tune it to get the best foil. (2) The minimum heat should be 300° F (hotter is better). If your laminator does not reach this temperature, you can try running the page through twice (don't peel off the foil before running it a second time). (3) Adjustable speed is also a bonus to get the best foil, but is not required.
- Foiling with a Pouch Laminator
- A. Warm up your laminator.
B. Cut the foil to fit the portion of your design that you want foiled.
C. Place the foil with the colored side up over your design.
D. Place a piece of scrap paper on top of your foil, taking care to not shift the foil. If your foil overhangs the paper, place an over-sized sheet of scrap paper underneath the paper as well.
E. Place your entire setup into a pouch carrier.
F. Run your pouch carrier through your laminator with the sealed-end first.
G. Once ejected, allow a minute or so to cool for the best results. Then open the carrier and peel off the scrap paper. You will experience some static cling.
H. Lastly, grab a corner of your foil, and peel it slowly up to reveal your gorgeous foiled design.
Having trouble? Visit our how to foil: live more, worry less post for troubleshooting tips and tricks for success.
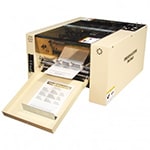
Because every foil fusing machine will have different instructions for how to install the foil roll, and operate, please refer to the individual foil fusing machine pages for instructions. Here are the foil fusers we offer:


TURN THAT PAPER INTO A NOTEPAD:
4. Pad-Bind Your Pages
Now all there is left to do is to bind your pages together with a method called "pad binding" or "notepad binding".
- A. Separate your pages into pads using the optional pad counter, and place a piece of optional chipboard at the bottom of each pad. Layer all of your pages together and jog them into a square stack on your padding press. If not using a padding press, just stack them on a level surface that is short enough to allow for clamping to the table. Hang the edge to be glues over the edge a little bit.
B. Clamp your pages tightly together. You can do this with your padding press, table clamps, or even some very heavy books. Make sure the edge to be glues is nice and tight.
C. Apply glue to the edge of choice using your padding brush. Allow the glue to dry completely (about 30 minutes, depending on the padding adhesive you are using). Usually one good coat is enough, but sometimes customers prefer to add a second coat after the first dries.
D. Now release the clamps and use the padding knife to cut the dried glue below each chipboard sheet, or to whatever thickness you want your pads to be.
And that's it! You are left with gorgeous foiled pads of paper that you can sell on Etsy, give away as gifts, or hoard for your own use (so tempting!).
As a THANK YOU for reading this blog post, here is a coupon you can use for foil rolls:
5% Off Coupon Code: FOILEDPAD

Coupon Details: 5% off Foil Fusing Rolls. Coupon code cannot be combined with other coupons, discounts, or offers. Limited time offer. Subject to change without notice. Code must be used during the ordering process; cannot be applied to any order after it has been placed, shipped, or delivered. Call (866) 537-2244 with questions.

Hi! My name is Mallory and I have been in the industry since 2008. If you do the math, that is over 15 years. I have spent my time at Binding101 in many roles, including customer service, sales, e-commerce management, video production, and more! Because of this vast experience, I bring a truly expert touch to the content in our blog. widdling down complex topics to extract what our customers really want to know. As the Content and UX Manager, I act as a writer and editor for the majority of copy you will find here. When not at my computer, I love spending time binging stand-up comedy, baking, and cuddling up with my family and rescued cats and dogs...
Related Products

Comment(s)


Trending Now

How to Bind Paper
January 29, 2019
What are the Best Laminators for Foiling?
July 10, 2018
How to Make a Wire Calendar 3 Different Ways
September 04, 2018
Everything you need to know about Foiling (with FAQs)
June 22, 2018
